Lighter accessories assembly is all about putting together parts that enhance or repair your lighter. Why does this matter? It lets you customize your lighter to match your style or fix it when it’s not working. You can even improve its functionality. It’s a fun and practical skill to learn!
Key Takeaways
- Collect tools like screwdrivers, tweezers, and pliers first. This helps make assembly easier and more fun.
- Keep your workspace tidy to avoid losing small parts. A bright and clean area helps you stay focused and work well.
- Try using your lighter after putting it together. If it doesn’t light, look for loose parts or clogs.
Tools and Materials for Lighter Accessories
Before you dive into assembling lighter accessories, you need the right tools and materials. Having these on hand makes the process smoother and more enjoyable. Let’s break it down into essentials, common materials, and optional tools for those who want to take it up a notch.
Essential tools for assembly
You don’t need a fancy toolkit to get started. Here are the basics you’ll want to have:
- Screwdrivers: A small flathead or Phillips screwdriver works for most lighter components.
- Tweezers: These help you handle tiny parts without losing them.
- Pliers: Needle-nose pliers are great for gripping and adjusting small pieces.
- Cleaning cloth: Keep your workspace and parts clean.
These tools are easy to find and make assembling lighter accessories much easier.
Common materials required
Now, let’s talk about the materials. These are the parts you’ll actually assemble:
- Flint and wicks: Essential for the lighter to function.
- Fuel: Butane or lighter fluid, depending on your lighter type.
- Replacement parts: Things like screws, caps, or cases for repairs or upgrades.
Make sure you choose materials that match your lighter model.
Optional tools for advanced assembly
If you’re ready to level up, consider adding these to your toolkit:
- Magnifying glass: Perfect for spotting tiny details.
- Rotary tool: Great for customizing or modifying parts.
- Heat-resistant gloves: Useful if you’re working with heated components.
These tools aren’t necessary, but they can make advanced projects more fun and precise.
Tip: Organize your tools and materials before starting. It saves time and keeps you focused on the task.
With the right setup, assembling lighter accessories becomes a breeze. Whether you’re fixing a broken lighter or customizing one to suit your style, these tools and materials will set you up for success.
Step-by-Step Guide to Assembling Lighter Accessories
Preparing your workspace
Before you start, set up a workspace that’s clean and organized. A clutter-free area helps you focus and keeps small parts from getting lost. Use a flat, stable surface like a desk or workbench. Lay down a mat or towel to prevent parts from rolling away. Good lighting is essential, so make sure your workspace is well-lit. A desk lamp or natural light works great.
Keep your tools and materials within arm’s reach. Arrange them in a way that makes sense to you. For example, place your screwdrivers, tweezers, and pliers on one side and your lighter accessories on the other. This setup saves time and keeps everything easy to find.
Tip: Avoid working near open flames or heat sources, especially if you’re handling fuel.
Assembling the components
Now it’s time to put everything together. Start by identifying the parts you need for your lighter. If you’re replacing a flint or wick, remove the old one first. Use your screwdriver or pliers to carefully disassemble the lighter. Keep track of screws and small pieces.
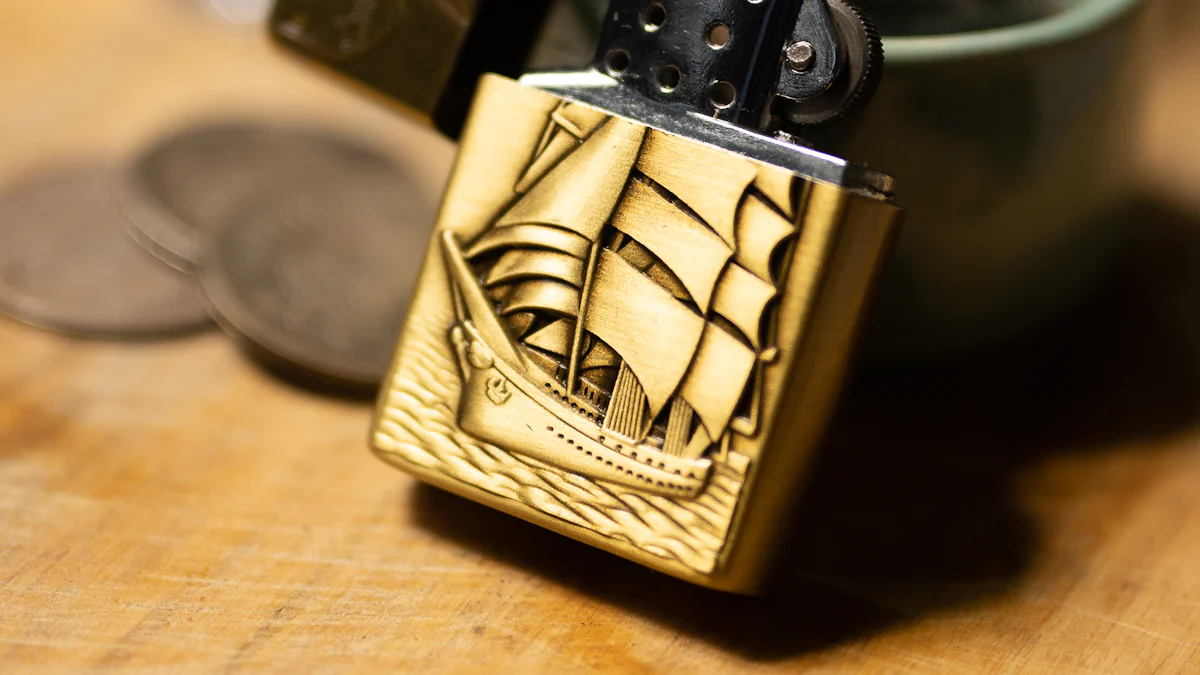
Insert the new components one at a time. For example, slide the new flint into its slot or thread the wick through the lighter’s opening. Use tweezers for precision. Tighten screws gently to avoid stripping them. If you’re customizing, attach the new case or decorative parts last.
Note: Follow the instructions specific to your lighter model for the best results.
Testing and final adjustments
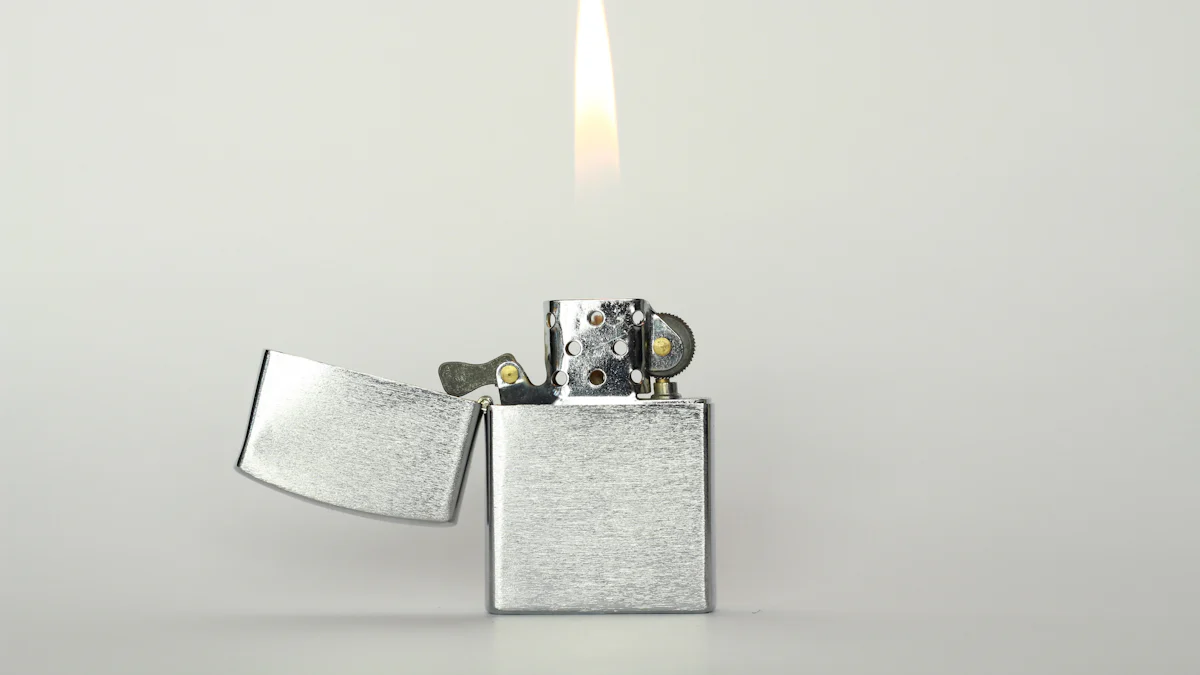
Once assembled, test your lighter to ensure it works properly. Fill it with the correct fuel and ignite it. Check for a steady flame. If the lighter doesn’t work, double-check the assembly. Look for loose screws or misaligned parts. Make adjustments as needed.
When everything works, clean the lighter with a cloth to remove fingerprints or smudges. Store it in a safe place or show off your customized design!
Reminder: Always handle lighters and fuel with care to avoid accidents.
Avoiding Mistakes and Troubleshooting
Common errors during assembly
Mistakes happen, especially when you’re just starting out. One common error is mixing up parts. For example, you might accidentally install the wrong size flint or wick. Another frequent issue is over-tightening screws. This can strip the threads, making it hard to secure the components. Misaligned parts are another problem. If pieces don’t fit together properly, your lighter may not work as expected. Skipping steps in the assembly process can also lead to trouble. Rushing through can cause you to miss important details.
Tip: Take your time and double-check each step to avoid these common pitfalls.
Troubleshooting tips
If your lighter doesn’t work after assembly, don’t panic. Start by checking the basics. Is there enough fuel? If not, refill it. Next, inspect the flint and wick. Make sure they’re installed correctly and aren’t worn out. If the flame is weak or won’t ignite, look for blockages in the nozzle or air vents. Use a small tool to clear any debris. For misaligned parts, disassemble the lighter and reassemble it carefully. Sometimes, a fresh start is all you need.
Reminder: Always work in a well-ventilated area when troubleshooting fuel-related issues.
Preventative measures for a smooth process
Preparation is key to avoiding problems. Organize your workspace and keep all parts and tools within reach. Read the instructions for your lighter model before starting. This helps you understand the assembly process and reduces the chance of errors. Handle small parts like screws and springs with care. Using a magnetic tray can prevent them from getting lost. Finally, test your lighter after each major step. This way, you can catch issues early and fix them before moving on.
Pro Tip: Practice assembling a spare or old lighter first. It’s a great way to build confidence and improve your skills.
Assembling lighter accessories is a rewarding skill that combines creativity and practicality. By following the steps, you can confidently repair or customize your lighter to suit your needs. Don’t hesitate to experiment with new ideas and designs. With practice, you’ll refine your techniques and discover just how fun and useful this hobby can be!
FAQ
What should I do if I lose a small part during assembly?
Don’t worry! Use a flashlight to search your workspace. A magnetic tray or mat can help prevent this next time. 🧲
Can I use any type of fuel for my lighter?
No, always use the fuel recommended for your lighter model. Using the wrong type can damage the lighter or affect its performance.
How often should I replace the flint and wick?
Replace the flint when it’s worn down. Change the wick if it looks charred or frayed. Regular checks keep your lighter working smoothly.
Pro Tip: Keep spare parts handy to avoid interruptions during assembly or repairs!