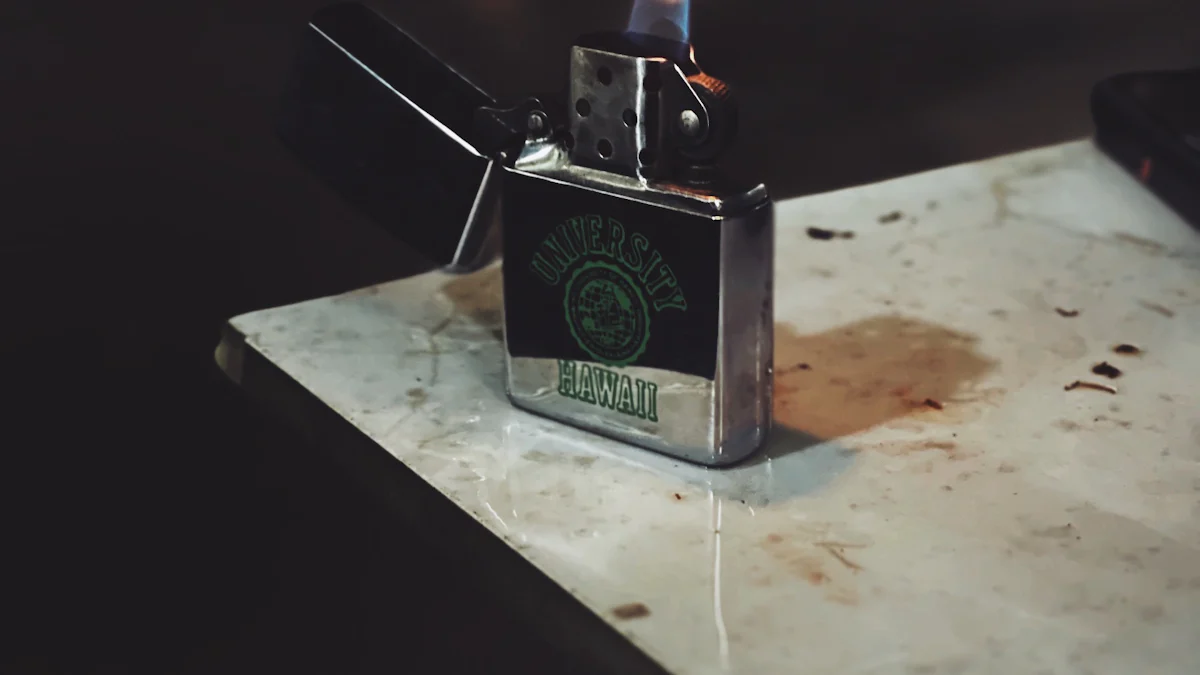
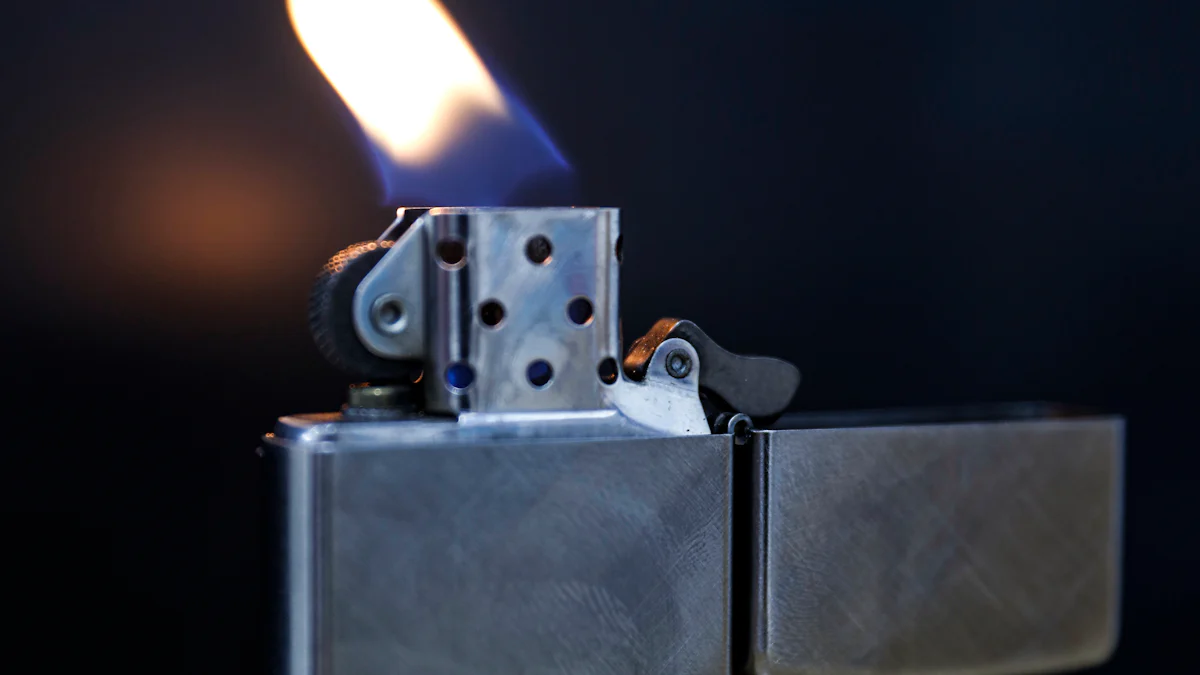
Ever wondered how to put a lighter together? This guide is here to help you with that! You’ll get clear instructions to make the assembly process simple and stress-free. But remember, safety comes first. Handle every part carefully, especially when working with flammable materials. Let’s get started and do this the right way!
Key Takeaways
- Get tools like a tiny screwdriver and tweezers first. This helps make putting the lighter together easier and safer.
- Stay safe by using goggles and gloves. Work where there is fresh air to avoid breathing in lighter fluid fumes.
- Carefully follow each step to assemble the lighter. Check parts twice to prevent mistakes that might cause problems.
Tools and Components for Assembly

Before you dive into assembling your lighter, let’s talk about what you’ll need. Having the right tools and components makes the process smoother and safer.
Essential tools for lighter assembly
First up, gather your tools. You don’t need a lot, but a few essentials will make the job easier. A small screwdriver is a must-have for handling tiny screws. Tweezers can help you place small parts precisely. If you’re dealing with a refillable lighter, a fuel canister might come in handy. Keep these tools within reach to streamline your assembly process.
Key components of a lighter
Now, let’s look at the components. A typical lighter consists of several key parts. You’ll need a flint, which creates the spark. The spring mechanism holds the flint in place. Don’t forget the fuel chamber, which stores the lighter fluid. Finally, there’s the ignition mechanism, which includes the wheel and the button. Make sure you have all these components before starting the assembly.
Recommended safety gear
Safety first! When working with lighters, it’s crucial to protect yourself. Wear safety goggles to shield your eyes from any small flying parts. Gloves can protect your hands from sharp edges or accidental fuel spills. It’s also wise to work in a well-ventilated area to avoid inhaling any fumes. Remember, taking these precautions ensures a safe and successful assembly.
Tip: Double-check your tools and components before starting. This saves time and prevents frustration during the assembly.
Step-by-Step Assembly Instructions

Step 1: Organize your tools and workspace
Before you start, set yourself up for success. Lay out all your tools and components on a clean, flat surface. Make sure everything is within easy reach. A clutter-free workspace helps you focus and reduces the risk of losing small parts. If you’re working with fuel, choose a well-ventilated area to stay safe.
Tip: Use a tray or small container to keep tiny pieces like the flint and spring from rolling away.
Step 2: Insert the flint into the lighter casing
Take the flint and place it into the designated slot inside the lighter casing. The flint is what creates the spark, so it’s a crucial part of the assembly. Use tweezers if the slot is too small for your fingers. Make sure the flint sits snugly in its position.
Step 3: Attach and secure the spring mechanism
Now, grab the spring mechanism. This part holds the flint in place and ensures it stays functional. Carefully insert the spring over the flint and press it down gently. Use a small screwdriver to secure it if needed. Double-check that the spring is firmly attached but not overly tight.
Step 4: Fill the fuel chamber (if applicable)
If your lighter is refillable, it’s time to add fuel. Open the fuel chamber and slowly pour in the lighter fluid. Don’t overfill it—leave a little space to prevent leaks. Wipe away any spills immediately to avoid accidents.
Note: Always handle lighter fluid with care. Keep it away from open flames or heat sources.
Step 5: Assemble the ignition mechanism
Next, focus on the ignition mechanism. This includes the wheel and button that create the spark. Align the wheel with the flint and attach it securely. Then, connect the button to the wheel. Test the wheel to ensure it spins smoothly.
Step 6: Test the lighter for proper functionality
Finally, it’s time to test your lighter. Hold it upright and press the ignition button. The wheel should spin, creating a spark that ignites the fuel. If it doesn’t work, check the flint and spring for proper placement. Repeat the steps if necessary.
Reminder: If the lighter doesn’t function after multiple attempts, some components might be faulty. Consider replacing them.
Safety Guidelines for Lighter Assembly
When assembling a lighter, safety should always be your top priority. Following these guidelines will help you avoid accidents and ensure a smooth process.
Handling flammable materials safely
Lighter fluid is highly flammable, so you need to handle it with care. Always work in a well-ventilated area to avoid inhaling fumes. Keep the fuel away from open flames, heat sources, or anything that could ignite it. If you spill any fluid, wipe it up immediately with a clean cloth.
Tip: Store lighter fluid in a cool, dry place, away from children and pets. A secure cabinet works great for this.
When filling the fuel chamber, pour slowly and avoid overfilling. This prevents leaks and reduces the risk of accidents. If you’re unsure about the amount, check the manufacturer’s instructions for guidance.
Avoiding assembly errors
Mistakes during assembly can lead to a malfunctioning lighter or even safety hazards. Take your time and follow each step carefully. Double-check the placement of the flint, spring, and ignition mechanism. If something doesn’t fit easily, don’t force it—this could damage the parts.
Reminder: If you’re stuck, refer back to the instructions or consult a professional. It’s better to pause than to risk an error.
Using the right tools also makes a big difference. A small screwdriver and tweezers can help you handle tiny components with precision. Keep your workspace organized to avoid losing parts or mixing them up.
Proper disposal of damaged or faulty components
If any parts of your lighter are damaged or faulty, don’t try to reuse them. Broken components can compromise the lighter’s safety and functionality. Instead, dispose of them properly. For metal parts, check if your local recycling center accepts them. For flammable materials like old fuel, follow your area’s hazardous waste disposal guidelines.
Note: Never throw lighter fluid or damaged lighters in the trash. They can pose a fire hazard.
By following these safety tips, you’ll not only assemble your lighter successfully but also protect yourself and those around you. Stay cautious and enjoy the process!
You’ve now learned how to assemble a lighter step by step. Remember, safety is key—handle every part with care and stay cautious with flammable materials. If something doesn’t work, don’t stress. Double-check your steps or ask a professional for help. With patience and practice, you’ll get it right! 🔥
FAQ
What should I do if my lighter doesn’t spark?
Check the flint and spring placement. Ensure the ignition mechanism is aligned correctly. If it still fails, replace faulty parts or repeat the assembly steps.
Can I use any type of fuel for my lighter?
No, always use the fuel recommended by the manufacturer. Using the wrong type can damage the lighter or make the assembly unsafe.
How do I clean my lighter during assembly?
Use a soft cloth to wipe away dirt or residue. Avoid using water or harsh chemicals, as they can damage the components or affect functionality.


