A welding lighter helps you ignite welding equipment safely and efficiently. This tool produces a controlled spark, ensuring a reliable ignition source. Before using it, inspect the lighter for any visible damage. Always handle it with care to prevent accidents. A well-maintained welding lighter ensures smooth operation and reduces the risk of malfunctions.
Key Takeaways
- Check your welding lighter for any damage before using it. A broken lighter can be dangerous.
- Keep your workspace clean and tidy. This helps prevent accidents and keeps you focused.
- Use safety gear like goggles and gloves. These protect you from sparks and burns.
Preparation for Using a Welding Lighter
Gather the Necessary Tools and Equipment
Before you begin, collect all the tools and materials you need. Start with the welding lighter, ensuring it is within reach. You will also need a welding torch, protective gloves, and safety goggles. Keep a fire extinguisher nearby for emergencies. Organize these items in a way that allows you to access them quickly. A clutter-free workspace helps you stay focused and reduces the risk of accidents.
Inspect the Welding Lighter for Damage
Examine the welding lighter carefully before using it. Look for cracks, loose parts, or any signs of wear. A damaged lighter can malfunction and create safety hazards. Test the lighter by pressing its trigger or ignition mechanism. If it fails to produce a spark, avoid using it. Replace or repair the lighter as needed. Regular inspections ensure your equipment remains reliable and safe.
Tip: Always keep a spare welding lighter on hand. This ensures you can continue working without delays if your primary lighter malfunctions.
Set Up a Safe and Organized Welding Area
Choose a well-ventilated area for your welding tasks. Remove any flammable materials, such as paper or cloth, from the workspace. Arrange your tools neatly to avoid tripping or knocking them over. Use a sturdy table or surface to support your welding equipment. Good lighting is essential for visibility and precision. A clean and organized area enhances safety and efficiency.
How to Operate a Welding Lighter
Adjust the Lighter to the Correct Settings
Before using the welding lighter, adjust it to the proper settings for your task. Check the manufacturer’s instructions to understand the lighter’s features. Locate the adjustment knob or mechanism on the lighter. Turn it to control the intensity of the spark. A lower setting works well for smaller torches, while a higher setting suits larger equipment. Avoid setting it too high, as this can create an uncontrollable spark. Test the lighter briefly to confirm the adjustment. This step ensures the lighter operates efficiently and safely.
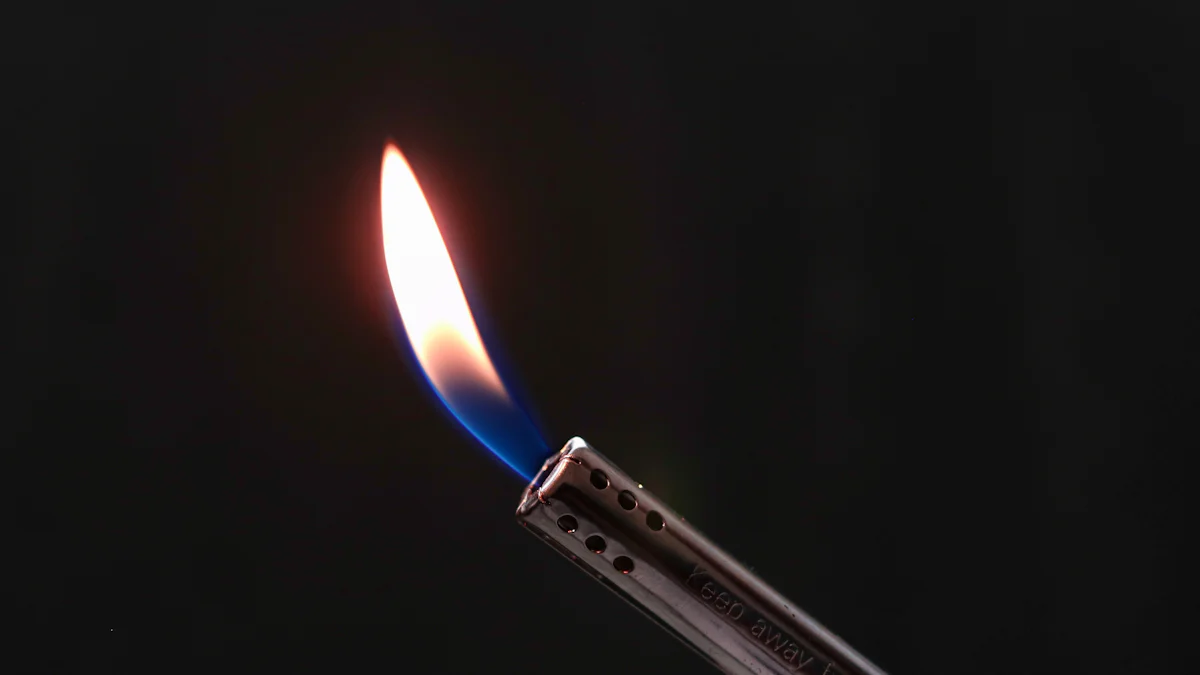
Ignite the Welding Lighter Safely
To ignite the welding lighter, hold it firmly in your hand. Position it close to the welding torch but avoid direct contact. Press the ignition button or trigger to produce a spark. Keep your hand steady to maintain control. If the lighter does not ignite immediately, release the trigger and try again. Avoid pressing the trigger repeatedly without pause, as this can damage the lighter. Once the spark is steady, you are ready to proceed. Always stay focused during this step to prevent accidents.
Tip: If the lighter fails to ignite after several attempts, inspect it for dirt or damage. Clean or replace it as needed.
Use the Lighter to Ignite the Welding Torch
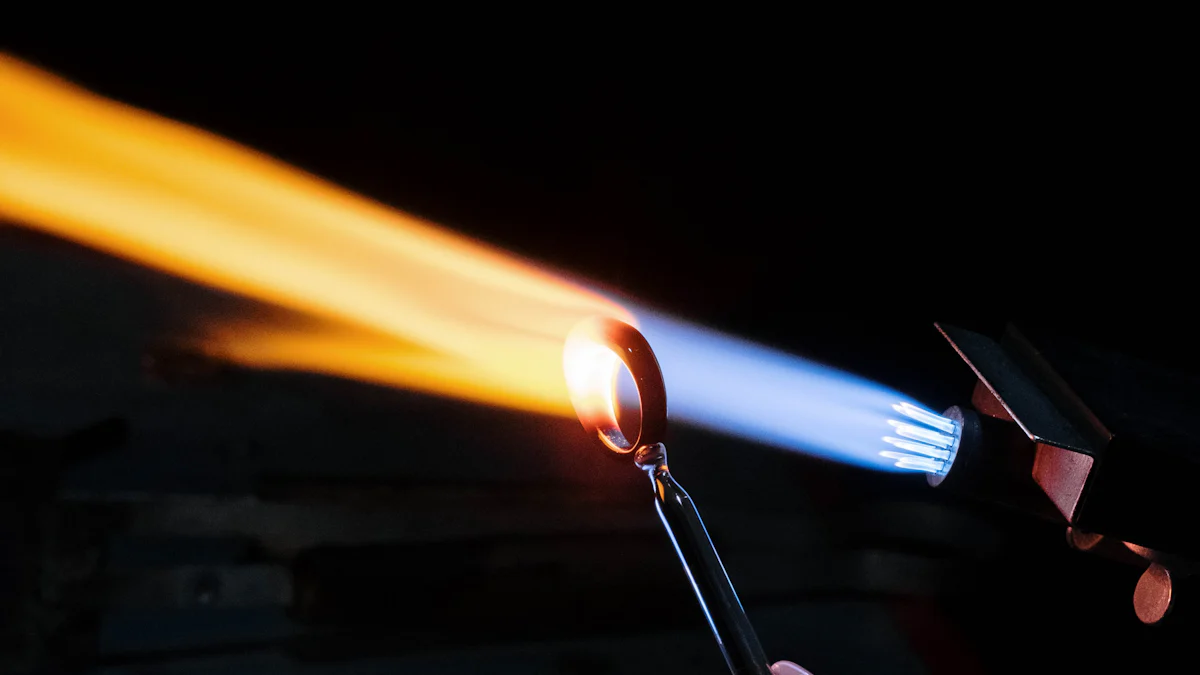
After igniting the welding lighter, use it to light the welding torch. Hold the lighter near the torch’s nozzle. Slowly open the gas valve on the torch to release a small amount of gas. The spark from the lighter will ignite the gas, creating a flame. Adjust the gas flow to achieve the desired flame size. Keep the lighter steady until the torch is fully lit. Once the torch is burning, turn off the lighter and place it in a safe location. This process ensures a smooth and controlled ignition.
Safety Tips for Using a Welding Lighter
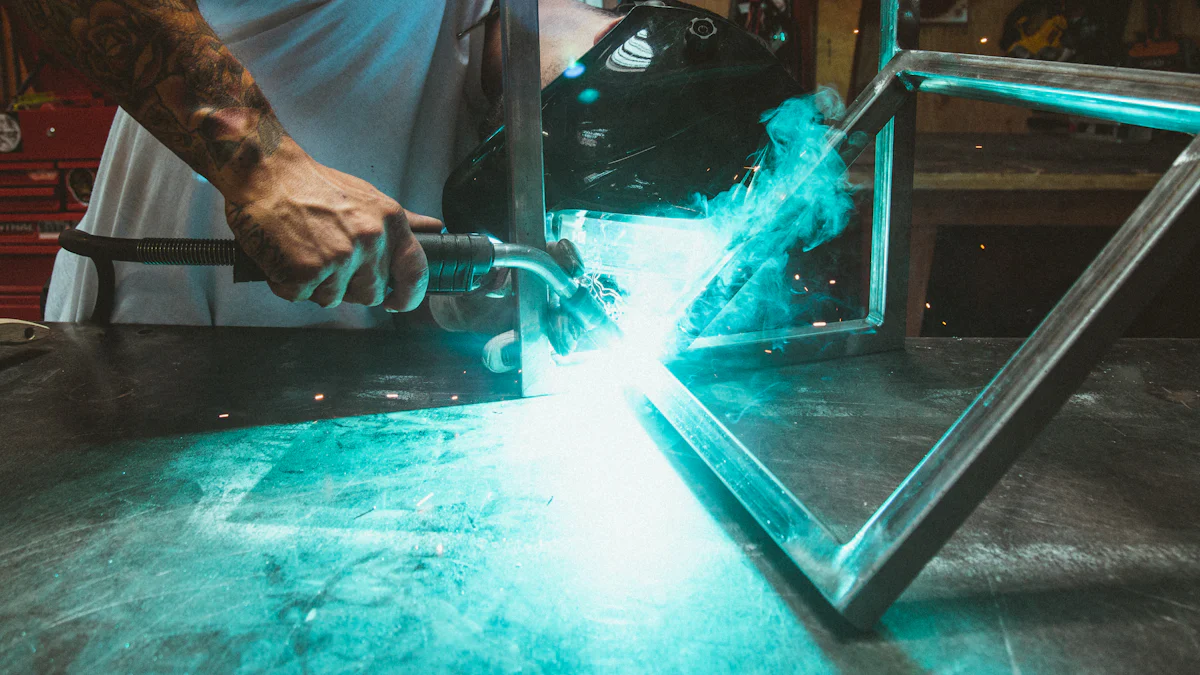
Wear Protective Gear
Always wear the right protective gear when using a welding lighter. Start with safety goggles to shield your eyes from sparks and bright light. Use heat-resistant gloves to protect your hands from burns. A flame-resistant jacket or apron can prevent injuries to your body. Avoid wearing loose clothing, as it can catch fire easily. Steel-toed boots provide extra protection for your feet in case of falling objects. These items create a barrier between you and potential hazards, ensuring a safer welding experience.
Tip: Inspect your protective gear regularly for wear and tear. Replace damaged items immediately to maintain safety.
Maintain Proper Ventilation
Good ventilation is essential when working with a welding lighter. Welding produces fumes and gases that can harm your health if inhaled. Set up your workspace in an open area or use an exhaust fan to remove harmful substances. Avoid welding in confined spaces without proper ventilation. If working indoors, keep windows and doors open to allow fresh air to circulate. This step reduces the risk of respiratory issues and ensures a healthier environment.
Note: Consider wearing a respirator mask if ventilation is limited. It provides extra protection against harmful fumes.
Keep Flammable Materials Away
Remove all flammable materials from your workspace before using a welding lighter. Items like paper, cloth, and chemicals can ignite easily when exposed to sparks. Store these materials in a safe location, away from the welding area. Keep a fire extinguisher nearby in case of emergencies. A clean and clutter-free workspace minimizes the risk of accidental fires and ensures a safer working environment.
Reminder: Never leave a lit welding torch unattended. Always turn it off when not in use.
Troubleshooting Common Welding Lighter Issues
Addressing Ignition Problems
If your welding lighter fails to ignite, start by checking for common issues. Dirt or debris often blocks the ignition mechanism. Clean the lighter with a soft brush or compressed air to remove any buildup. Inspect the spark-producing components for wear. A worn flint or electrode may need replacement. Ensure the lighter is adjusted to the correct settings. If the spark is too weak, increase the intensity slightly. Always test the lighter after making adjustments to confirm it works properly.
Tip: Store your welding lighter in a dry place to prevent moisture from affecting its performance.
Steps to Take if the Lighter Malfunctions
When your welding lighter malfunctions, follow a systematic approach to resolve the issue. First, identify the problem. If the lighter does not produce a spark, check the battery (if applicable) or the ignition mechanism. Replace the battery or repair the mechanism as needed. If the lighter produces a spark but fails to ignite the torch, examine the gas flow. Ensure the torch’s gas valve is open and functioning. Test the lighter again after addressing these issues.
Reminder: Never attempt to repair a welding lighter while it is in use. Always turn off the equipment before troubleshooting.
When to Repair or Replace the Welding Lighter
You should repair your welding lighter if the issue is minor, such as a worn flint or a loose part. Use replacement parts recommended by the manufacturer to ensure compatibility. However, if the lighter has significant damage or fails repeatedly, replacing it is the safer option. A faulty lighter can pose safety risks and disrupt your work. Regular maintenance and timely replacements keep your equipment reliable and safe.
Note: Keep a backup welding lighter on hand to avoid delays during repairs or replacements.
Using a welding lighter effectively involves preparation, careful operation, and strict safety practices. Always inspect your tools before starting. Follow the outlined steps to ensure smooth ignition and safe handling. Prioritize safety by wearing protective gear and maintaining a clean workspace. These habits help you achieve consistent results while minimizing risks.
FAQ
1. What should you do if the welding lighter produces weak sparks?
Inspect the flint or electrode for wear. Replace worn components to restore spark strength. Clean the lighter to remove dirt or debris.
Tip: Regular maintenance prevents weak sparks and ensures reliable performance.
2. Can you use a welding lighter for other purposes?
Welding lighters are designed specifically for igniting welding torches. Avoid using them for other tasks to maintain their functionality and safety.
Reminder: Use tools only for their intended purpose to avoid accidents.
3. How often should you inspect your welding lighter?
Inspect your welding lighter before every use. Regular checks help identify damage early and ensure safe operation.
Note: Frequent inspections extend the lifespan of your welding lighter. 🛠️