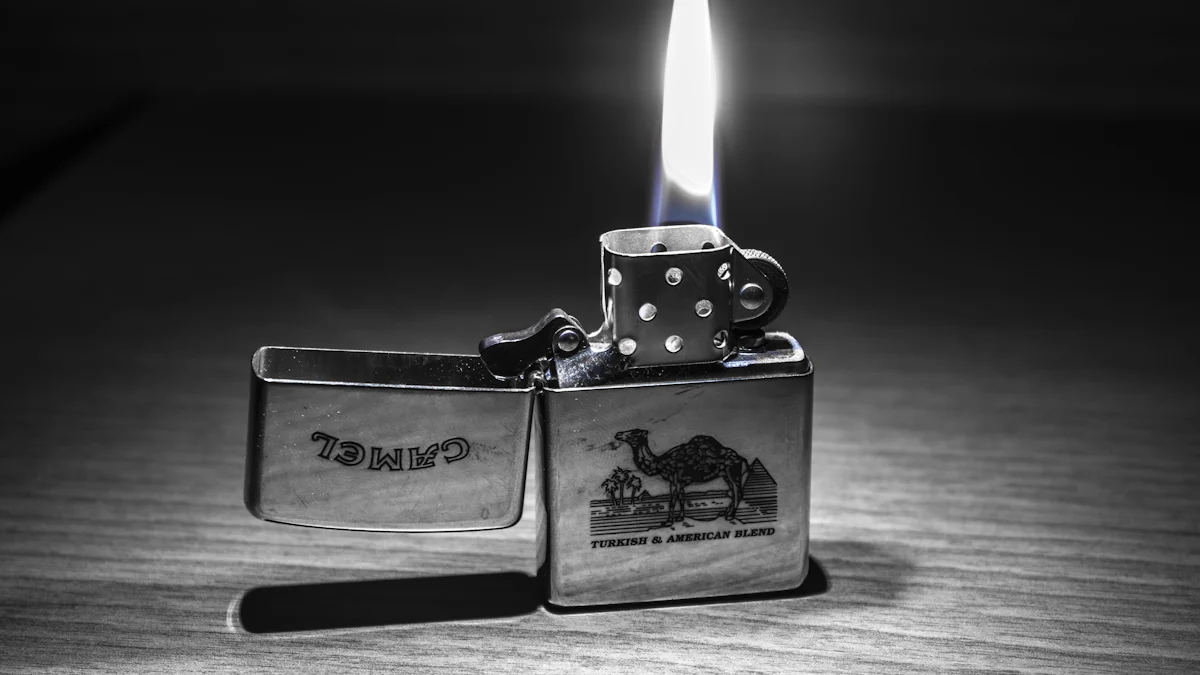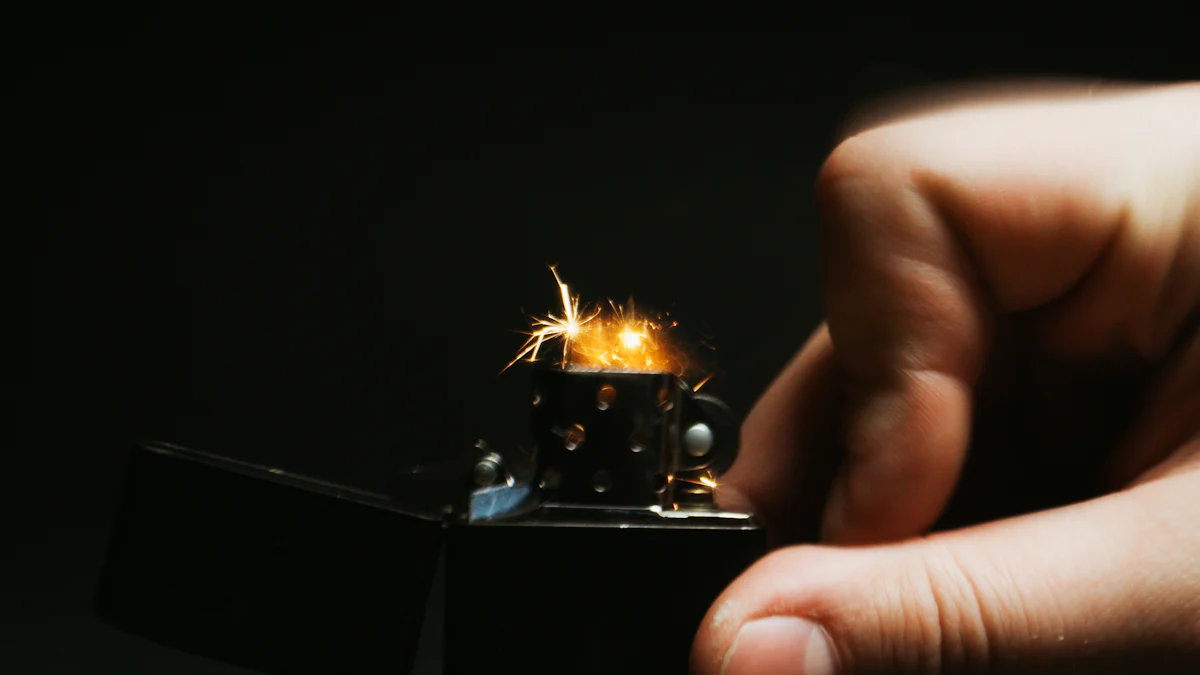
Have you ever wondered why your lighter’s flame isn’t as consistent as it used to be? To improve its performance, you should install cotton in a lighter. This addition helps absorb fuel better, providing you with a steady flame every time. The process is simple, and you only need a few basic tools to get started.
Key Takeaways
- Use only pure cotton with no treatments for better fuel soaking. Do not use mixed fabrics to keep the lighter working well.
- Check and change the cotton in your lighter every few weeks. This helps keep the flame steady and avoids sudden problems.
- Always work in a place with fresh air when using lighter fluid. Be safe: keep fluid far from fire and clean spills right away.
Tools and Materials Needed

Essential Tools for the Job
Before you start, gather a few basic tools. You’ll need a small flathead screwdriver or a similar tool to remove the lighter’s components. A pair of tweezers will also come in handy for handling the cotton and placing it precisely. If you don’t have tweezers, you can use a toothpick or a similar object to push the cotton into place. Finally, keep a clean cloth nearby to wipe away any spills or residue. These tools make the process of installing cotton in a lighter much easier and more efficient.
Best Types of Cotton for Lighters
Not all cotton is created equal. For the best results, use 100% pure cotton. Avoid synthetic blends, as they don’t absorb fuel as effectively. Organic cotton is a great choice because it’s free from chemicals that could affect performance. Cotton balls or cotton pads work well, but make sure they’re unbleached and untreated. This ensures your lighter functions smoothly and consistently.
Optional Accessories for Convenience
While not essential, a few extra items can make the job even easier. A small funnel can help you refill the lighter fluid without making a mess. You might also want to use gloves to keep your hands clean, especially when handling lighter fluid. If you’re working in a dimly lit area, a small flashlight can help you see inside the lighter. These accessories aren’t necessary, but they can save you time and effort.
Step-by-Step Guide to Install Cotton in a Lighter

Removing Old Cotton and Components
Start by disassembling your lighter. Use a small flathead screwdriver to carefully remove the metal casing and access the internal components. Once you’ve opened it, you’ll likely see old cotton inside. Use tweezers to pull it out gently. If the cotton is stuck, try loosening it with the screwdriver. Be sure to remove any remaining debris or residue from the lighter’s interior. This step ensures the new cotton will fit properly and absorb fuel effectively.
Tip: Place the old cotton and any other removed parts on a clean surface or in a small container to avoid losing them.
Preparing and Positioning the New Cotton
Take your 100% pure cotton and break it into small, manageable pieces. You don’t need large chunks; smaller pieces are easier to position and adjust. Roll or fluff the cotton slightly to make it pliable. Using tweezers or a toothpick, start placing the cotton into the lighter’s fuel chamber. Push it in gently, ensuring it fills the space evenly without being too compact.
Note: Overpacking the cotton can block fuel flow, so aim for a snug but not overly tight fit.
Ensuring Proper Placement for Optimal Performance
Once the cotton is in place, check that it’s evenly distributed. The cotton should touch the wick, as this connection allows the fuel to travel efficiently to the flame. If you notice gaps or uneven areas, adjust the cotton with your tweezers. After positioning, reassemble the lighter and test it. A steady flame indicates the cotton is installed correctly.
Reminder: If the flame flickers or doesn’t light, you may need to reposition the cotton or check the wick’s alignment.
By following these steps, you’ll successfully install cotton in a lighter and improve its performance.
Safety Tips for Installing Cotton in a Lighter
Handling Lighter Fluid Safely
When working with lighter fluid, safety should always come first. This liquid is flammable and can be dangerous if mishandled. Always work in a well-ventilated area to avoid inhaling fumes. Keep the fluid away from open flames or heat sources. If you accidentally spill some, wipe it up immediately with a clean cloth.
Tip: Store lighter fluid in a cool, dry place, out of reach of children and pets.
When refilling your lighter, pour the fluid slowly to prevent overfilling. A small funnel can help you avoid spills. If any fluid gets on your hands, wash them thoroughly before lighting the lighter.
Avoiding Overpacking the Cotton
It’s tempting to stuff as much cotton as possible into the lighter, but this can cause problems. Overpacking blocks the flow of fuel, which leads to inconsistent flames or no flame at all. Instead, aim for a snug fit. The cotton should fill the space without being too tight.
Reminder: After you install cotton in a lighter, test it. If the flame flickers or struggles to stay lit, you might need to adjust the cotton.
Proper Disposal of Old Materials
Don’t just toss old cotton or lighter components into the trash. These materials may still contain traces of lighter fluid, which can be hazardous. Place them in a sealed bag before disposing of them. If you’re unsure about proper disposal, check your local waste management guidelines.
Note: Recycling centers or hazardous waste facilities often accept materials like lighter fluid-soaked cotton.
By following these safety tips, you’ll ensure a smooth and safe process every time you work on your lighter.
Maintenance Tips for Long-Term Performance
Regular Inspection and Replacement of Cotton
To keep your lighter working smoothly, you should inspect it regularly. Check the cotton every few weeks, especially if you use the lighter often. Look for signs of wear, like discoloration or a burnt smell. These are clues that the cotton isn’t absorbing fuel as well as it should. If you notice these issues, it’s time to replace the cotton.
Replacing the cotton is simple. Follow the same steps you used to install cotton in a lighter. Fresh cotton ensures better fuel absorption and keeps the flame steady. Regular checks and replacements will save you from unexpected lighter failures.
Tip: Set a reminder on your phone to inspect your lighter monthly. This small habit can make a big difference in performance.
Cleaning the Lighter for Better Functionality
A clean lighter works better and lasts longer. Over time, dirt and residue can build up inside. Use a soft cloth to wipe the exterior and a small brush to clean the internal parts. Pay special attention to the wick and the fuel chamber.
If you notice stubborn grime, a bit of rubbing alcohol on a cotton swab can help. Just make sure everything is dry before you refill or use the lighter. Keeping your lighter clean ensures it functions efficiently and looks good too.
Reminder: Avoid using water to clean your lighter. It can damage the internal components.
Refueling Tips to Maximize Efficiency
Refueling your lighter correctly is just as important as maintaining the cotton. Always use high-quality lighter fluid. Cheap fluids can clog the cotton and reduce performance. Pour the fluid slowly and stop when the cotton looks saturated but not dripping.
After refueling, let the lighter sit for a minute. This gives the cotton time to absorb the fluid fully. A well-refueled lighter burns more efficiently and lasts longer between refills.
Pro Tip: Keep a small funnel handy for refueling. It minimizes spills and makes the process easier.
By following these maintenance tips, you’ll keep your lighter in top shape for years to come.
Properly installing cotton in a lighter is key to keeping it reliable and efficient. By following these steps, you’ll enjoy better fuel absorption and a steady flame. Regular maintenance ensures your lighter stays in top shape for years. Take care of it, and it’ll always be ready when you need it.
FAQ
How often should you replace the cotton in your lighter?
You should replace the cotton every few months or when you notice inconsistent flames or poor fuel absorption. Regular checks help maintain performance.
Can you use any type of cotton for your lighter?
No, only use 100% pure, untreated cotton. Synthetic blends or treated cotton can affect fuel absorption and may damage your lighter.
What should you do if your lighter still doesn’t work after replacing the cotton?
Check the wick alignment and ensure the cotton isn’t overpacked. If the problem persists, inspect the lighter for other issues like clogged components.


